If you’re anything like me and have spent more than five minutes on social media (it’s my job!), you’ve probably seen some version of a viral Dubai chocolate bar. Dubai chocolate really took off in 2024, but we still can’t get enough of it! Glossy chocolate shell, tasty pistachio centre, sweet, nutty and creamy all at once.
Personally, I’ve always loved pistachio – proper pistachio gelato has to be up there among the top foods in the world – so discovering that a pistachio chocolate bar with added shredded coconut existed was truly incredible for me!
But they’re also usually:
- very sweet
- made with a long list of ingredients
- heavy on refined sugar
- not really something you’d want to eat too often!
This post may contain affiliate links, please read our disclosure policy for details.
We bought the M&S Pistachio Creme last year and it was SO good – but unfortunately not UPF free, and it’s prettyyyy high in sugar. While we try to eat UPF free as much as we can, we haven’t cut it out 100% so I sometimes like to enjoy this with medjool dates. I also had a version of Dubai chocolate strawberries recently which gave me the idea to mix it up with something slightly more healthy.
Then I spotted some pistachio butter on Ocado and then wondered why I hadn’t realised that was even a thing before! I mean, everyone’s heard of peanut butter and almond butter, but it just never occurred to me that pistachio butter would even exist! I tried medjool dates dipped in this and it was great (sadly, no match for the sugar-laden pistachio creme!) and it hit me:
Surely we could make our own Dubai pistachio chocolate bars using this pistachio butter!
This Dubai chocolate bar recipe pulls together around 8 plant points, or potentially more depending on your seed and nut mixes. They’re a sweet treat that doesn’t feel like a compromise!
We like to make these as little Dubai chocolate snack “bites” rather than bars as the moulds we use a little silicon muffin trays, but it could work with any shape of mould. I recommend using silicon moulds so that they pop out easily and to give the chocolate layer a lovely glossy shine.
My Dubai chocolate bites are inspired by the flavours and vibe of the viral chocolate bar, but made with:
- nuts
- dates
- pistachio butter
- coconut
- dark chocolate
- and simple cupboard ingredients
They’re no bake, easy to make in batches, freezer-friendly, and genuinely so satisfying. The kind of thing you grab when you want “something sweet” but don’t want to feel like you’ve had something too sickly sweet afterwards.
They also look very impressive for a low effort snack too! We make them in batches once every 2 weeks (sometimes swapping in peanut butter too – more on that later!).
Why you’ll LOVE these healthy Dubai chocolate snacks
- They satisfy a sweet tooth without relying on refined sugar
- They’re made with real, whole ingredients
- They have a rich dark chocolate flavour
- They feel indulgent, but they’re still a genuinely healthier version of most chocolate snacks
- They’re naturally gluten-free and easy to make dairy-free
- They’re great for kids, lunchboxes, afternoon snacks, or after dinner
- You can keep a stash in the freezer and pull one out whenever you need a treat
Honestly, these have become one of those “back-pocket recipes” in our house. They disappear faster than I expect every single time I make them – especially now the kids have them on their easy-to-grab snack shelf!
Here’s what you’ll need:
Equipment Tips (what we use)
We make these in silicon mini muffin trays, and I honestly think this makes all the difference!
Easy to pop out
Neat, even portions
A super shiny finish with a glossy top
You could use a small loaf pan or a tray lined with parchment paper instead and cut it into squares, but the silicone moulds just make everything feel a bit more polished. Or for the ultimate viral Dubai chocolate bar, you could use a chocolate bar mold!
How to make healthy Dubai chocolate snacks
- Melt the chocolate. Melt dark chocolate and coconut oil, spoon into moulds, and freeze for 5–10 minutes until just set.
- Add pistachio layer. Mix pistachio butter with coconut, spoon a thin layer over the chocolate, and return to the freezer.
- Blend the base. Blitz nuts, dates, seeds and coconut oil until sticky, press on top, and freeze until firm.
- Finish and store. Pop out, sprinkle with salt if you like, and store in the fridge or freezer.
You build these in layers, freezing briefly between each one. It sounds fiddly, but it’s actually very simple once you get going – and each layer takes very little time to set in the freezer!
1. Make the chocolate topping
Break the dark chocolate into a bowl and add the coconut oil.
Melt either:
- over a pan of hot water (bain marie), or
- in the microwave in short 30-second intervals, stirring between each
Spoon a thin layer of melted chocolate into the bottom of each silicone mould. You don’t need loads here, just enough to coat the base.
(If you have excess chocolate leftover, you can use the remaining chocolate to make an easy chocolate bark! We’ll put together a recipe for this soon!)
Pop the tray into the freezer for around 5-10 minutes. It needs to be set enough that it won’t move around when you add the pistachio paste, but not so hard that the layers won’t stick together easily.
This becomes the top of your snack when you turn them out later!
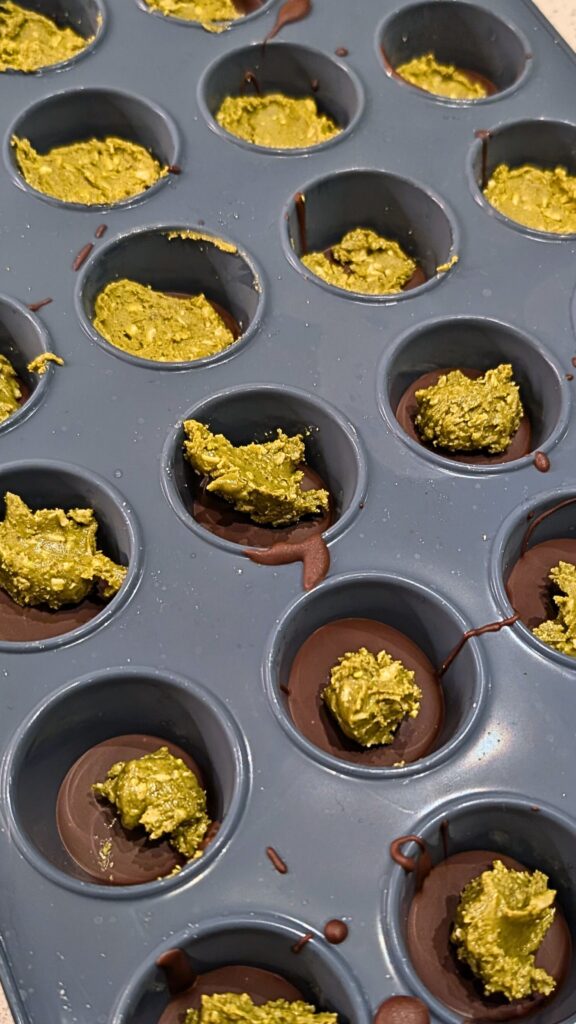
2. Add the pistachio paste
In a small bowl, mix the pistachio butter and desiccated coconut. You can use toasted coconut too for a nuttier flavour.
This mixture is rich, so you only need a small amount per snack. A thin layer is perfect and keeps the balance right between chocolate, nut and pistachio.
Spoon a little onto each one, gently flatten it out with the back of a spoon, and return to the freezer while you mix up the nuts and dates.
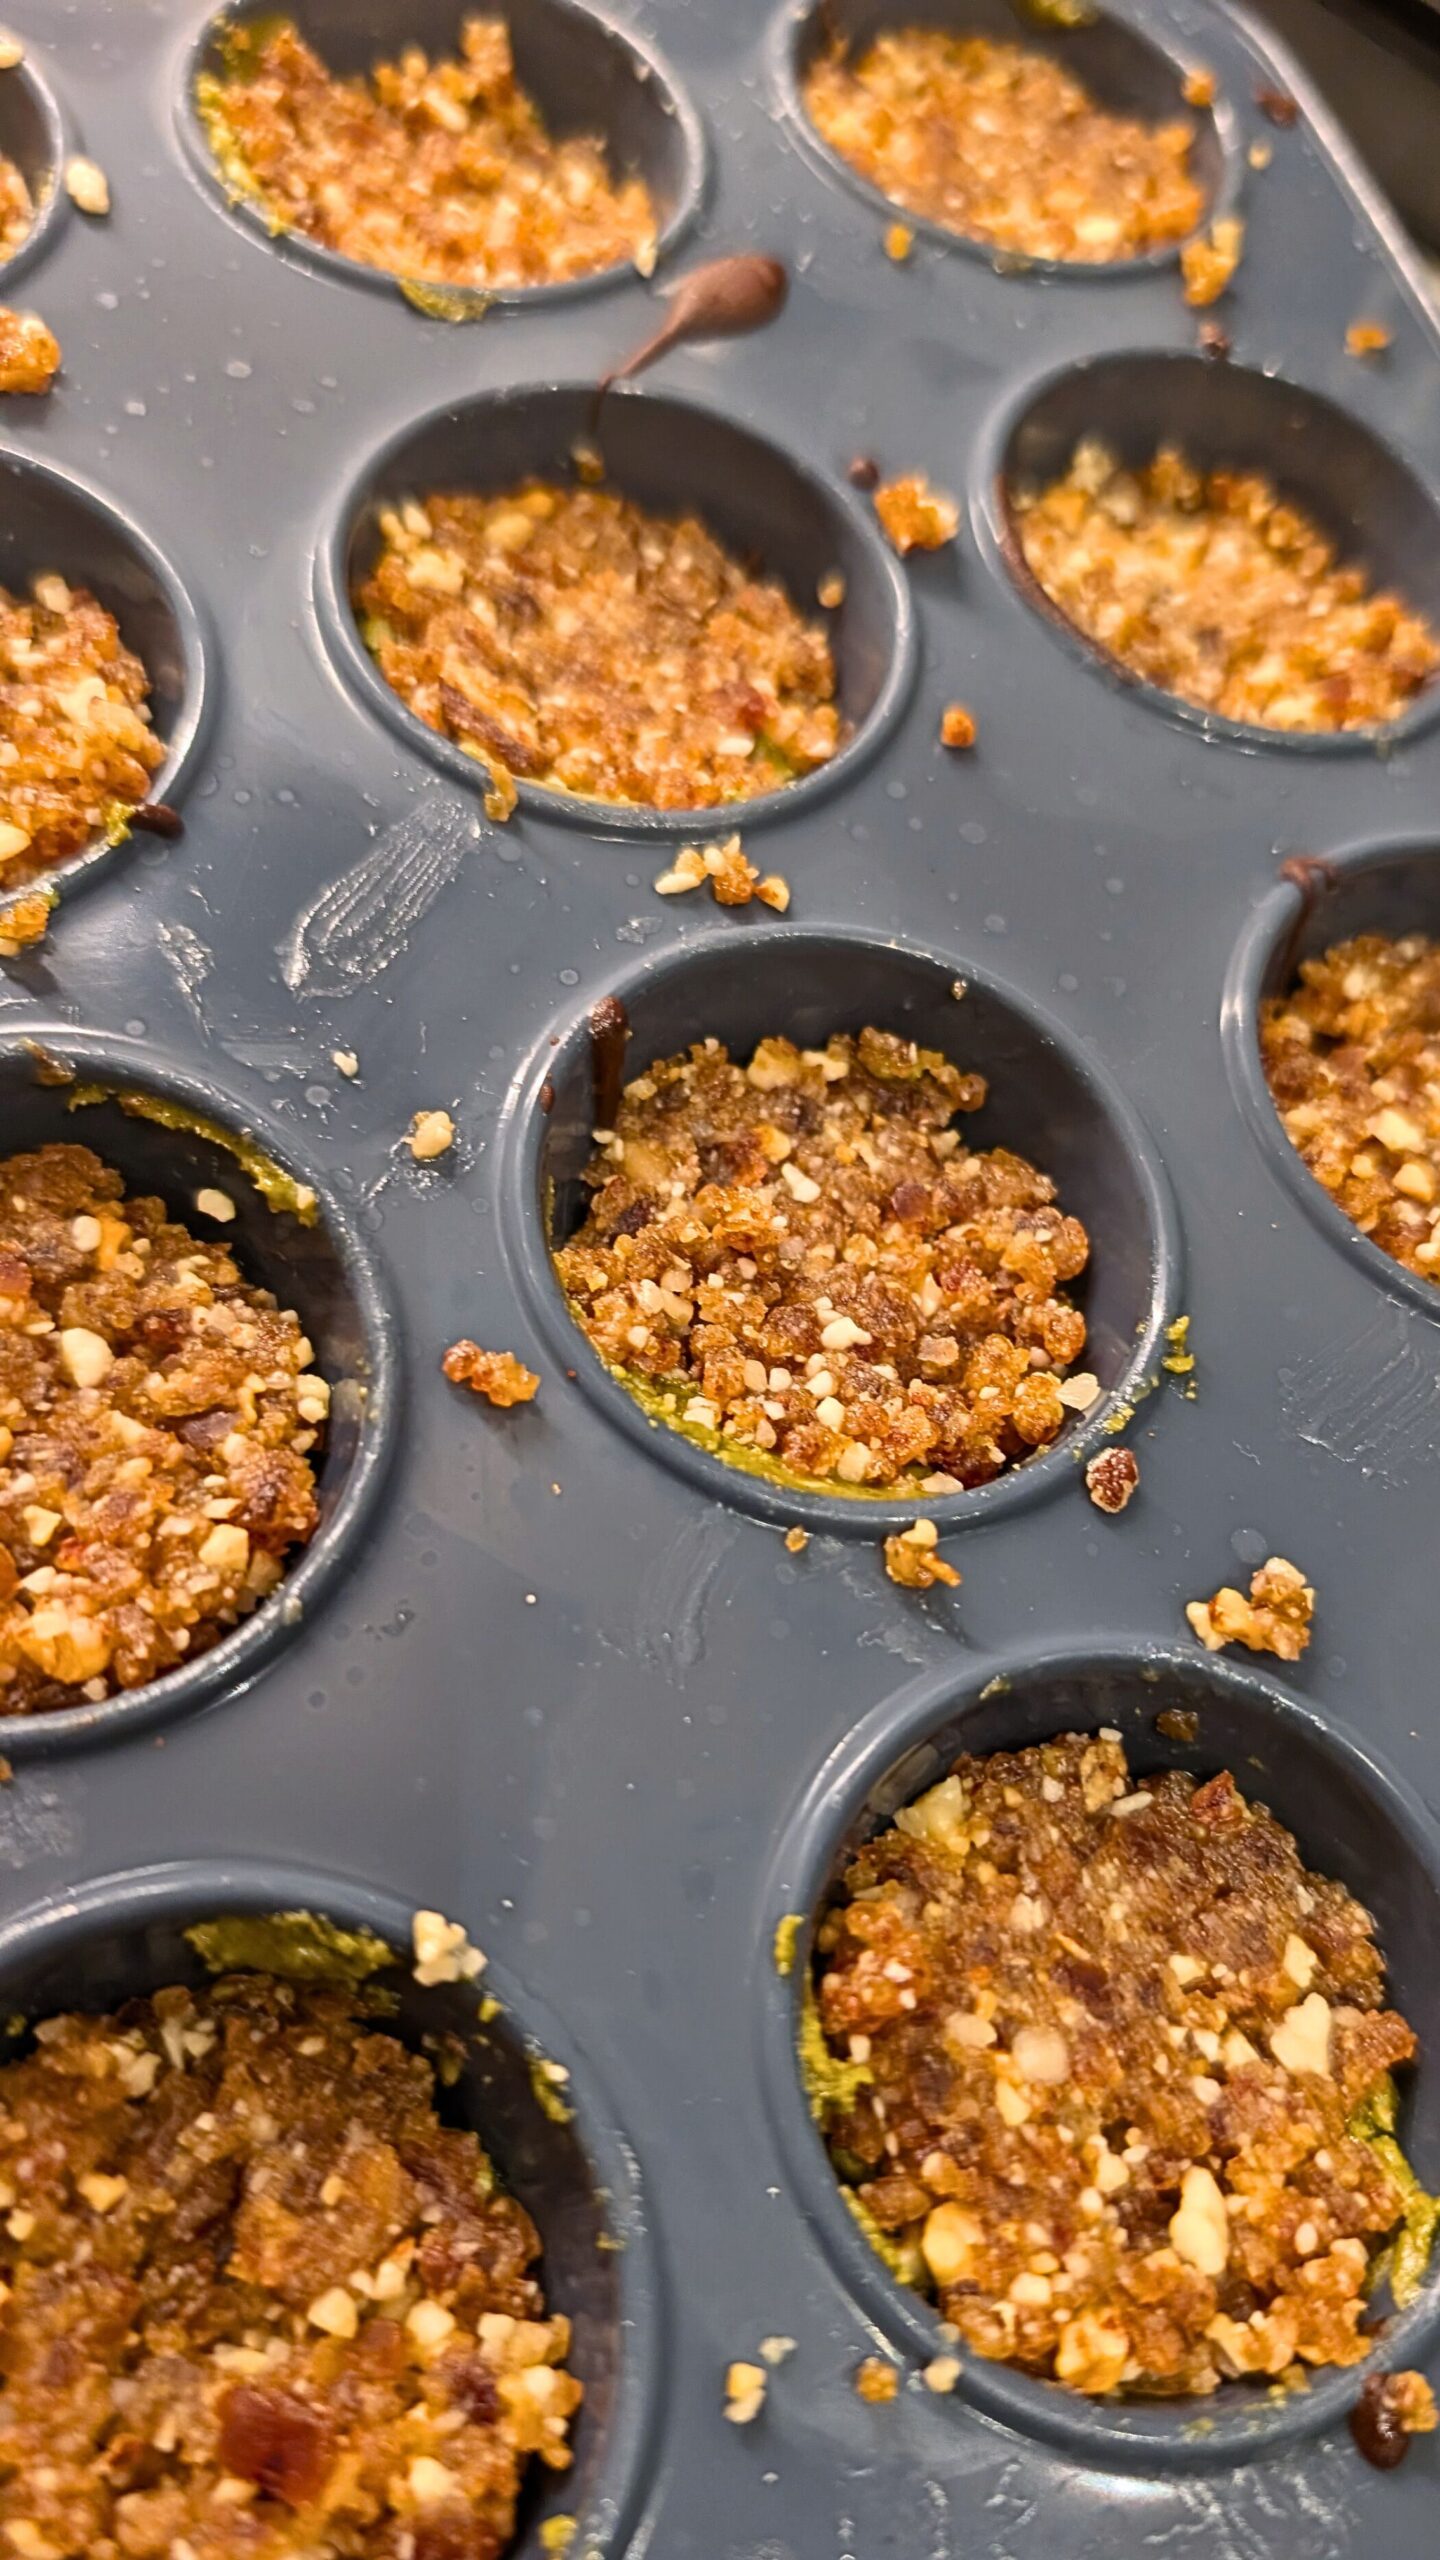
3. Make the nut & date layer
Add the mixed nuts, dates, seed mix and coconut oil to a food processor.
Blend until you get a sticky mixture that holds together when pressed between your fingers. You don’t want it completely smooth, a bit of texture makes these much nicer to eat.
Spoon some of this pistachio mixture on top of the set chocolate layer and press it down gently with the back of a spoon so it’s flat across the top – this will be your base, remember!
Return the tray to the freezer.
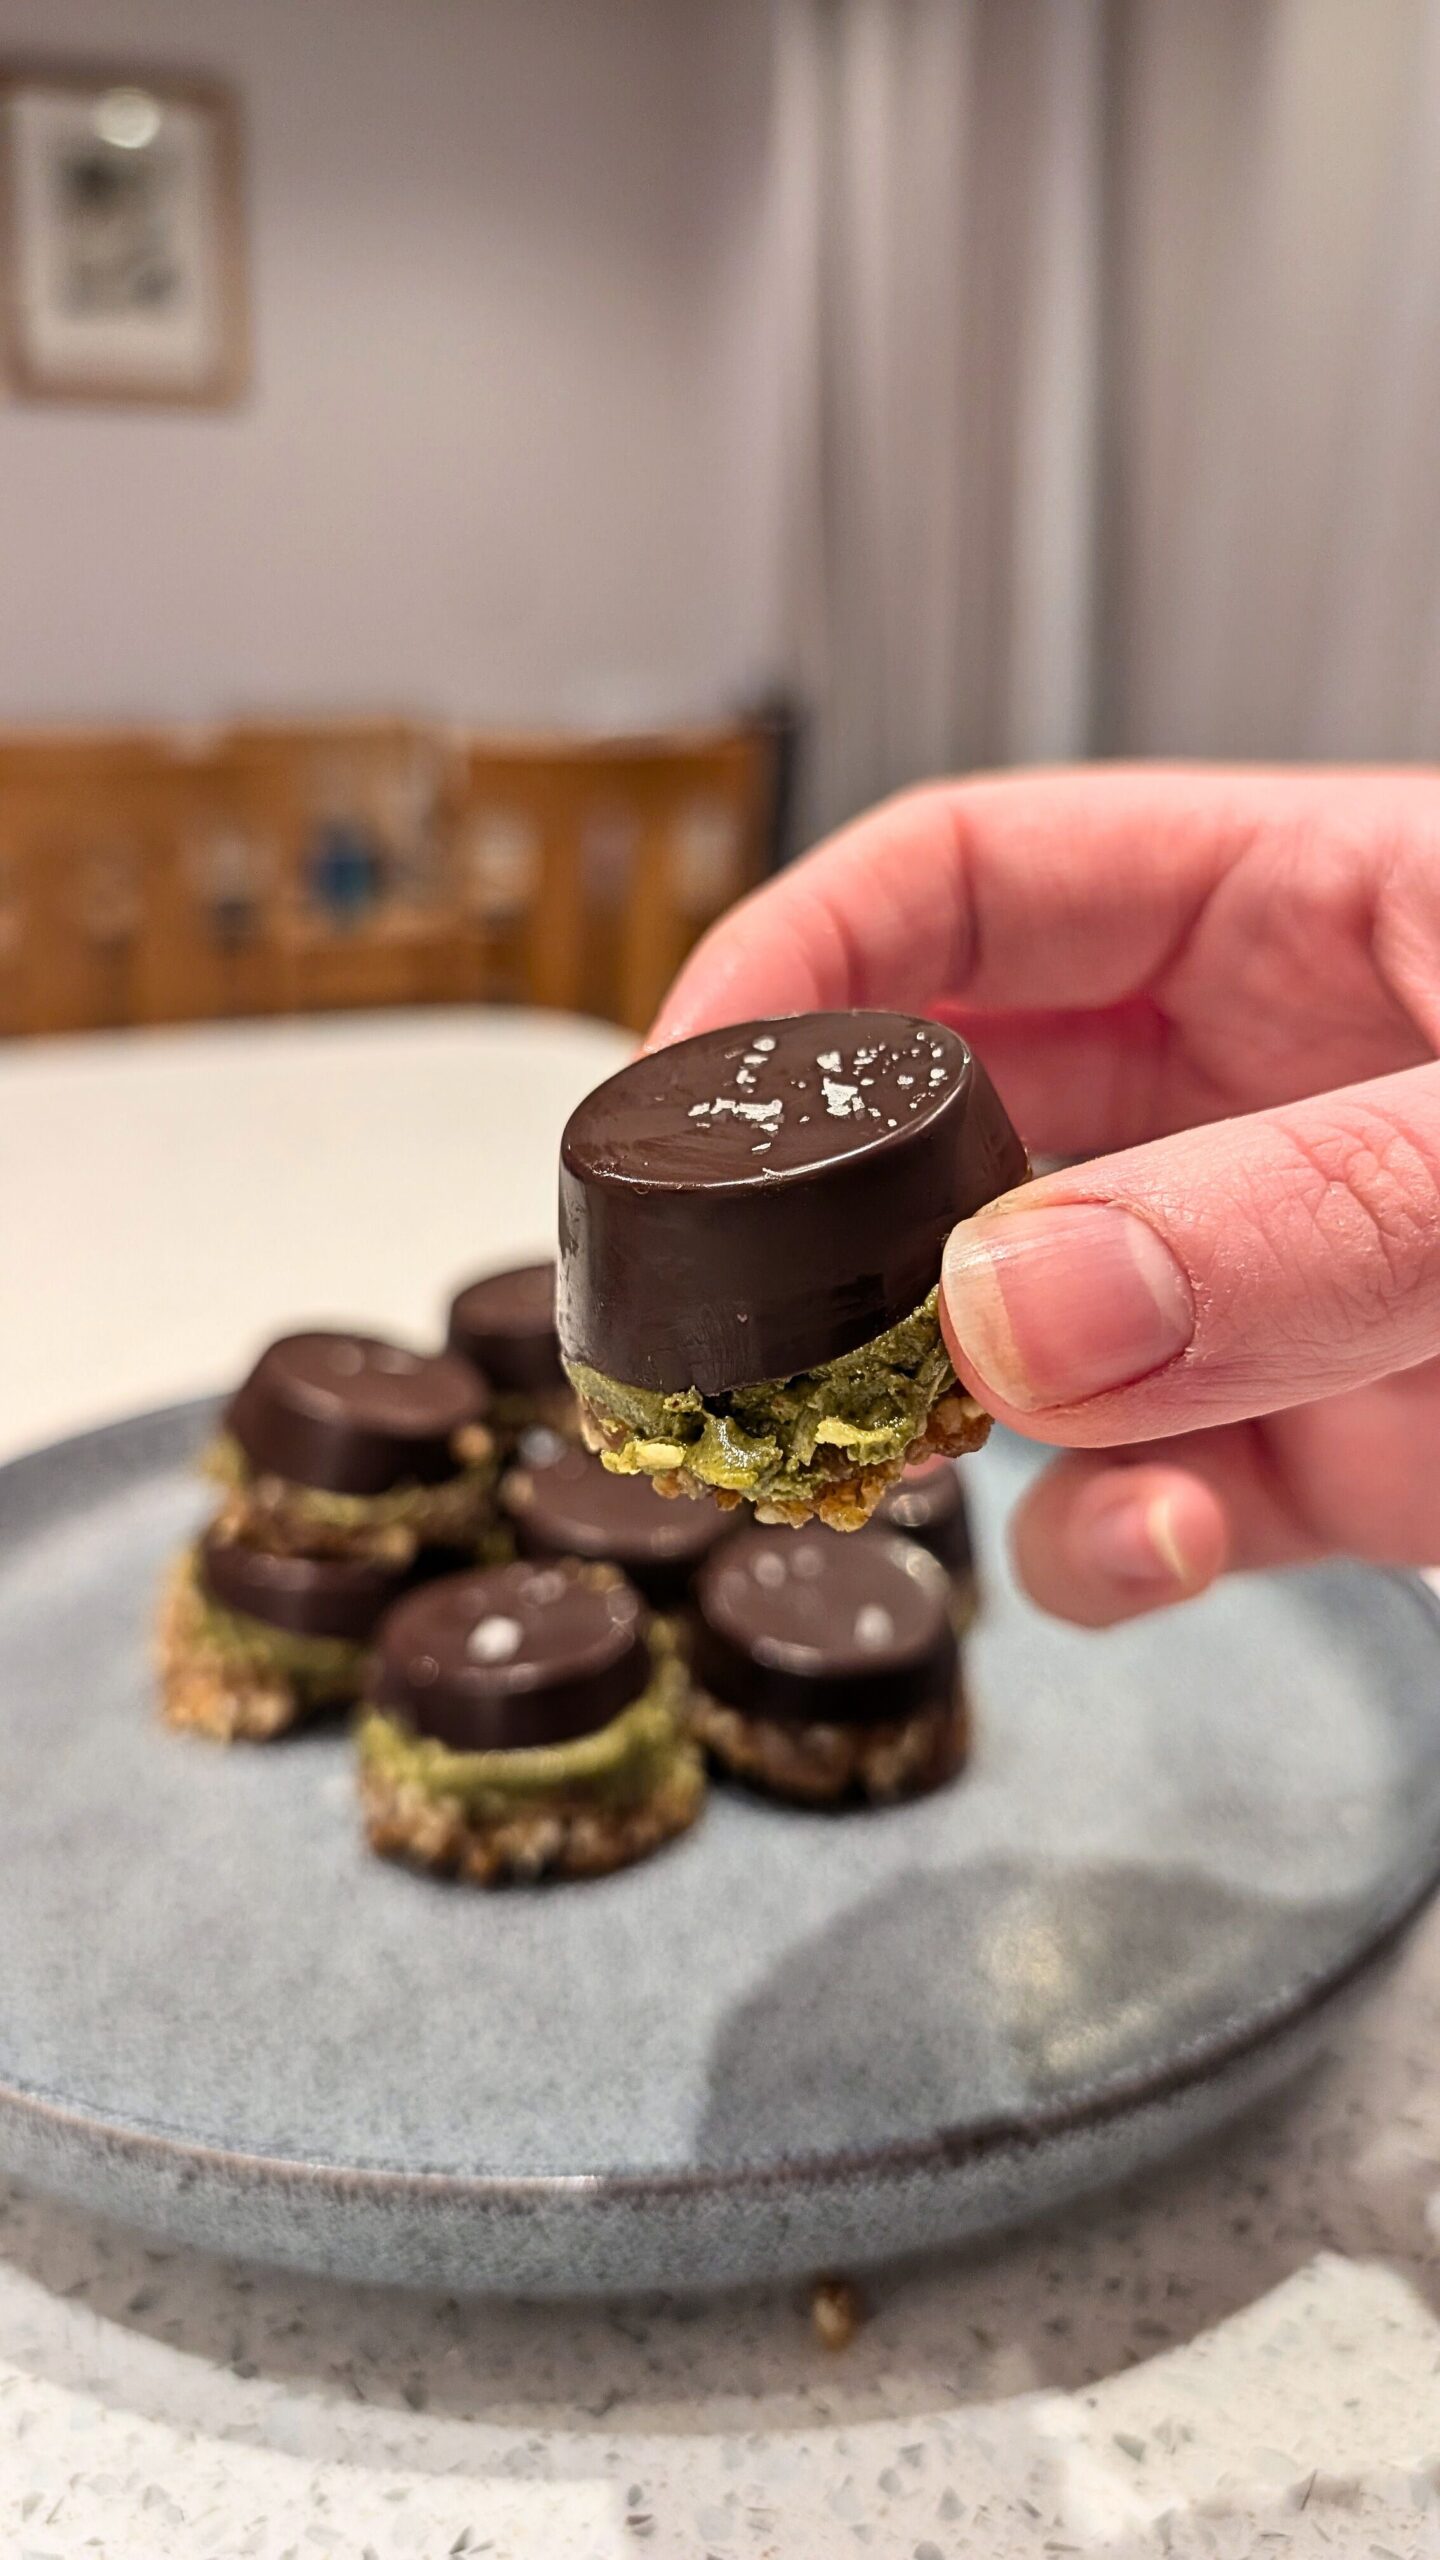
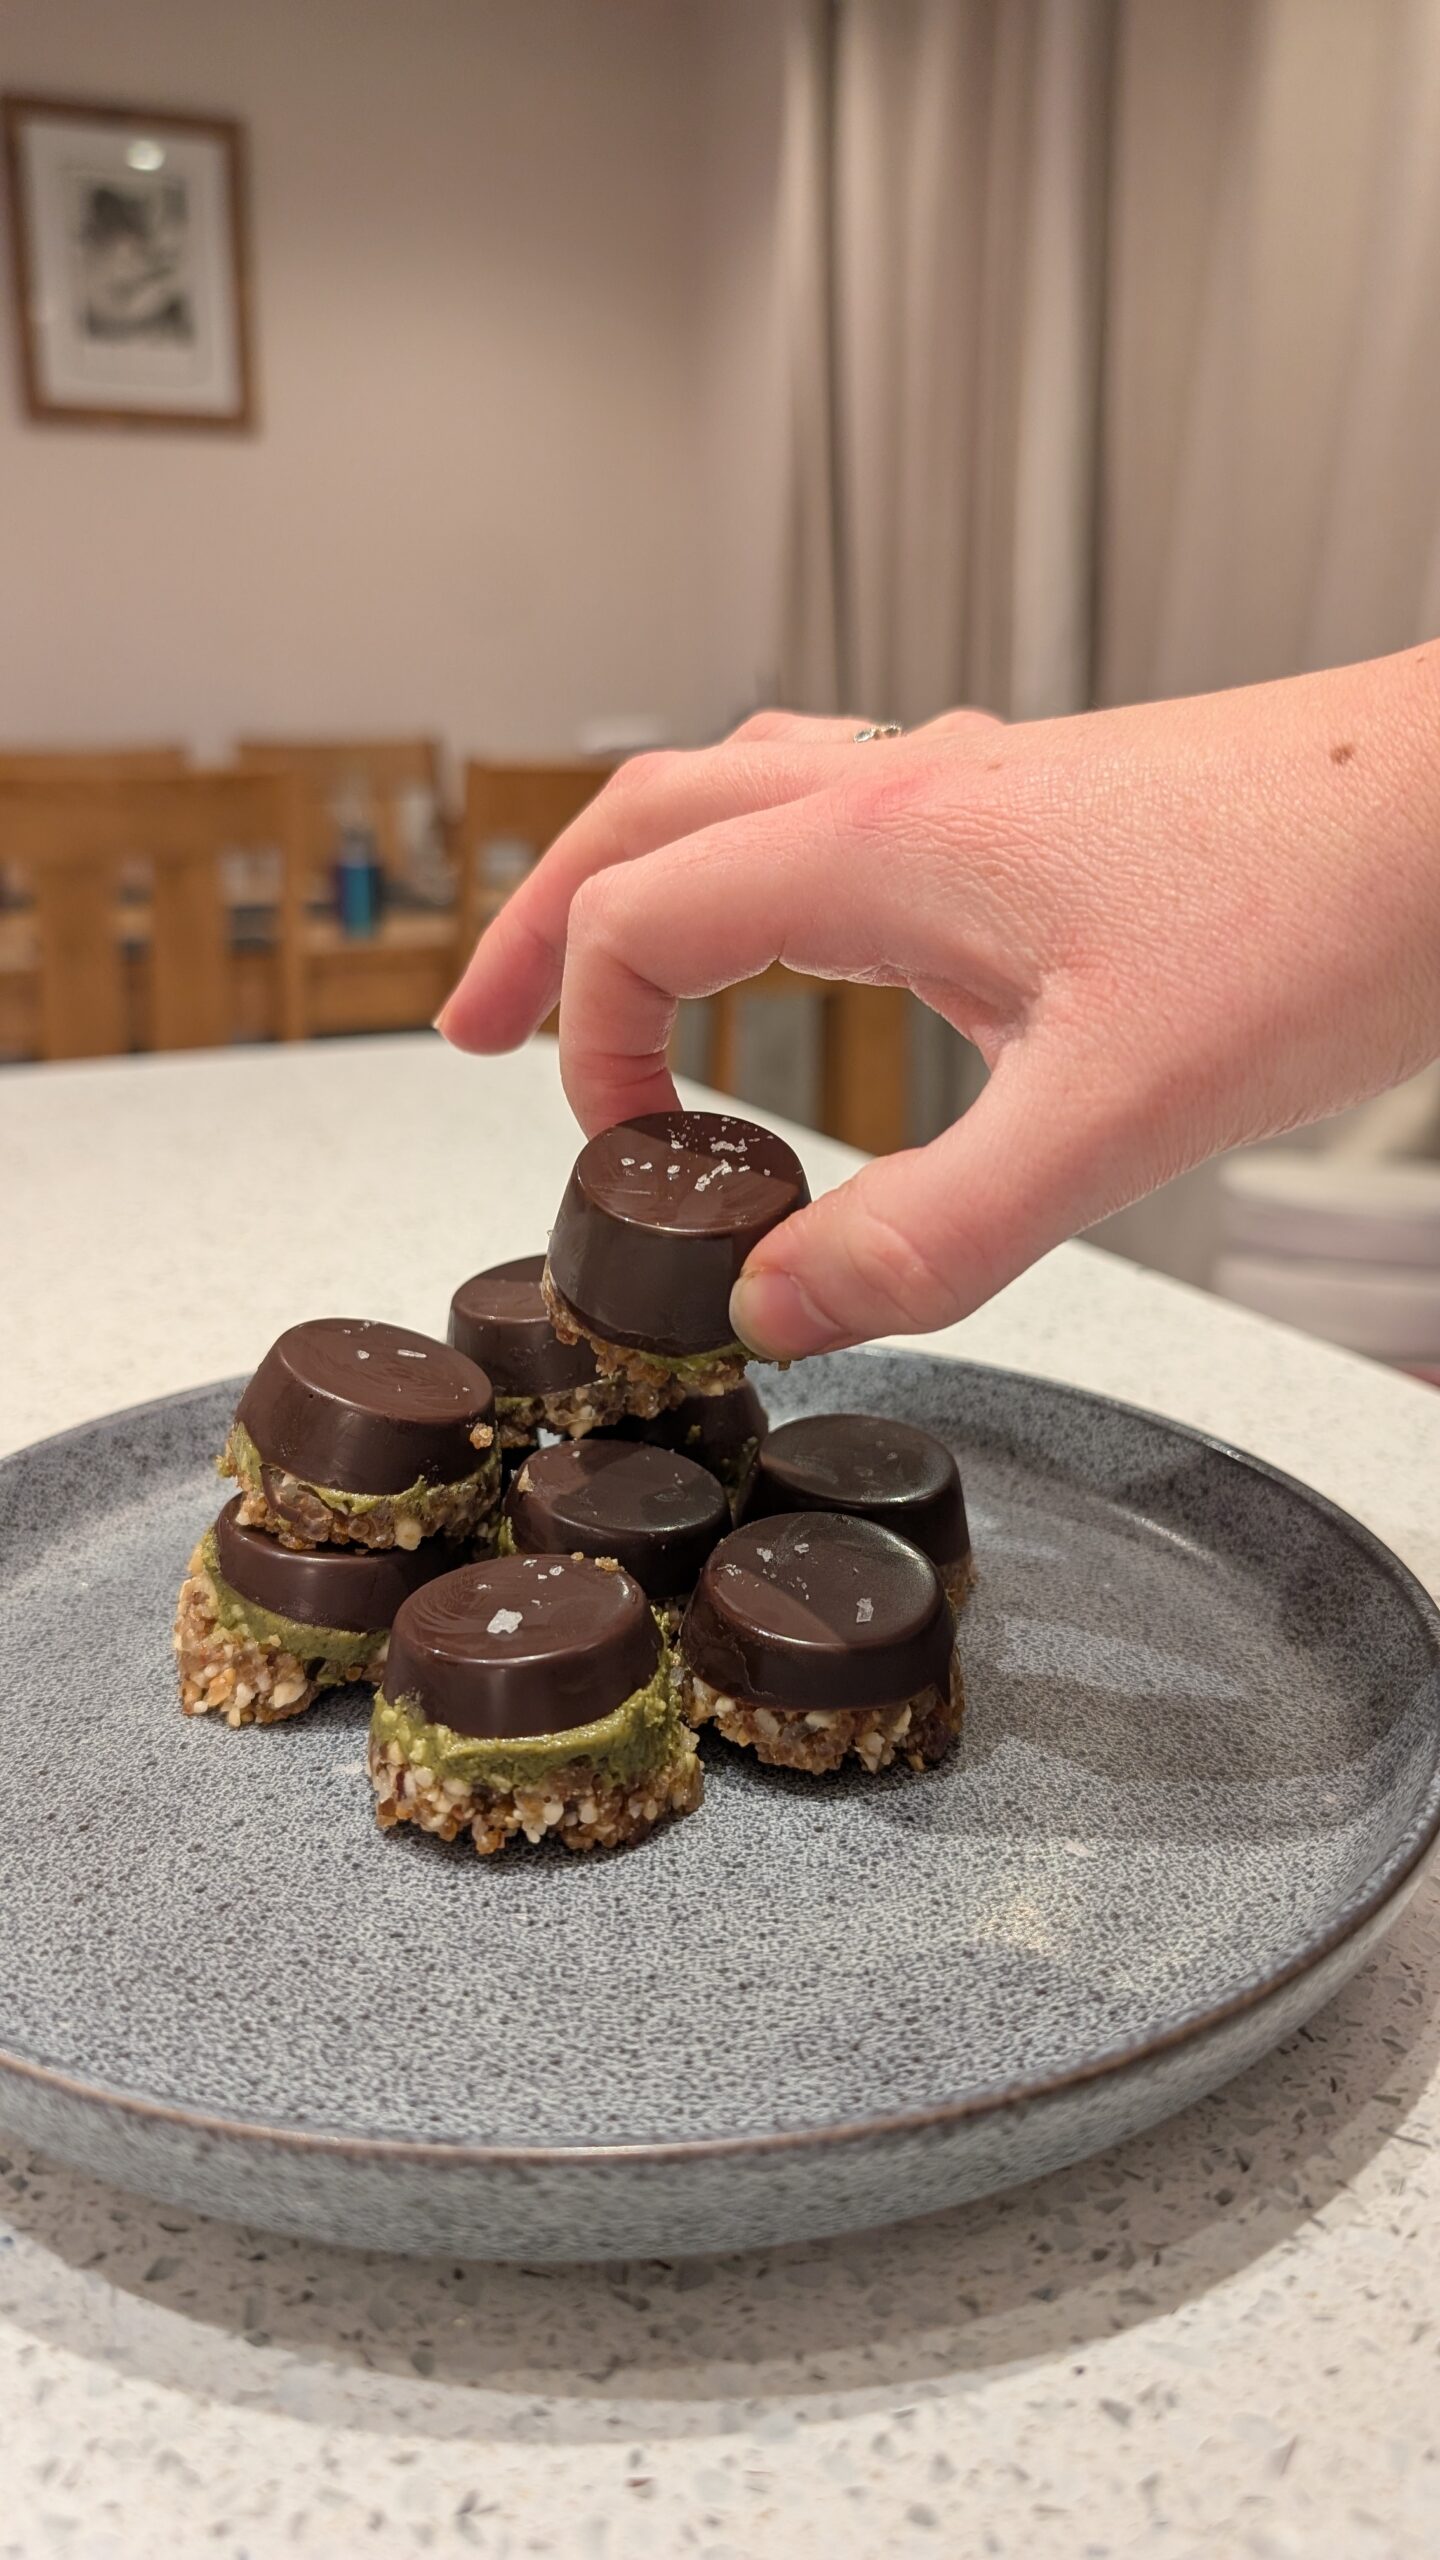
4. Turn out and enjoy
Once they’re set, pop them out of the moulds and admire that glossy chocolate top! You can sprinkle a little bit of flaked sea salt on the top too if you like that punch (personally, I do!).
Store them in the fridge or freezer and grab one whenever you fancy something sweet.
We prefer them straight from the freezer – the texture is firmer, the chocolate has a satisfying snap, and they feel extra yummy. The coconut oil in the chocolate makes sure that they’re not too difficult to bite through (we’ve made that mistake before!)
A quick note on the seed mix
If you’re wondering whether 1 tablespoon is enough, the answer is yes – it’s perfect here.
You’re adding seeds for:
- extra plants
- subtle texture
- nutritional variety
Too much and the mixture can become dry or overly gritty. One tablespoon keeps the balance spot on.
Tips for the best results
Don’t rush the freezing stages. Each layer needs to be firm enough before you add the next, otherwise everything blends together!
Use good quality dark chocolate. It makes a huge difference to flavour and helps to keep these as a healthy snack.
Taste your nut layer before shaping. If your dates are less sweet, you might want to add one extra date.
Don’t overfill the moulds. These are meant to be little snacks, not giant bars. You can have a couple of them then!
Let them sit for a minute before eating if they’ve just come out of the freezer – the flavour comes through better once they soften ever so slightly.

FAQs
Variations and easy swaps
What to serve with these healthy chocolate snacks
The beauty of these little snacks is that they can be eaten any time or place! I actually have some sat on my desk in my office right now while I write this post!
These are perfect on their own, but they’re also lovely:
- alongside coffee
- as part of a little snack board
- chopped up and stirred into yoghurt
- served with berries for a simple dessert
- tucked into lunchboxes as a healthier treat
They’re one of those things that feel versatile enough to grab at any time throughout the day for a sweet healthy treat or energy boost. Any time I’m feeling snackish and want a chocolatey hit, I grab one of these.
I love recipes like this because they sit right in the middle of real life. They’re not “perfect health food” and they’re not ultra-processed dessert either. They’re just good, honest, homemade snacks that feel nourishing and enjoyable. And the kids love them too!
If you’ve been curious about the viral Dubai chocolate bar but want something more practical for everyday life, these healthy Dubai chocolate snacks are a really good place to start.
And if you make them and tweak them (different nuts, extra coconut, more chocolate, less chocolate, anything!), we’d really love to hear how they turn out!

Healthy Dubai Chocolate Snack Bites
Ingredients
Method
- Melt the dark chocolate and coconut oil, then spoon a thin layer into silicone moulds. Freeze for 5–10 minutes until just set.
- Mix the pistachio butter and coconut. Spoon a small amount onto each chocolate base and return to the freezer.
- Blend the nuts, dates, seed mix and coconut oil in a food processor until sticky but still slightly textured.
- Spoon the nut mixture on top, press down firmly, and freeze until fully set.
- Turn out of the moulds and enjoy straight from the fridge or freezer.
Notes
- These snacks keep well in an airtight container for up to 5 days in the fridge or several weeks in the freezer.
- They’re best eaten slightly chilled for the perfect texture and snap.
- You can swap pistachio butter for almond or cashew butter if needed.
- For extra flavour, sprinkle a little flaky sea salt on top before serving.